DIY Headband holder tutorial
This is a simple Do It Yourself headband holder tutorial.
I have made four of these and use two of them!
I love this headband holder because it's so cute and holds over 10 headbands.
Plus, it looks great in our daughters' bathrooms.

Here is what you will need:
4" PVC pipe
Batting
Fabric of your choice
rubberband
hot glue and glue gun
4" flower of your choice
Let's get started!
I bought the 4" PVC pipe at Lowe's and had them cut it in half.

I bought the batting at Hobby Lobby. Don't forget to use your 40% off coupon online.

Wrap two layers of batting around the 4" PVC pipe.
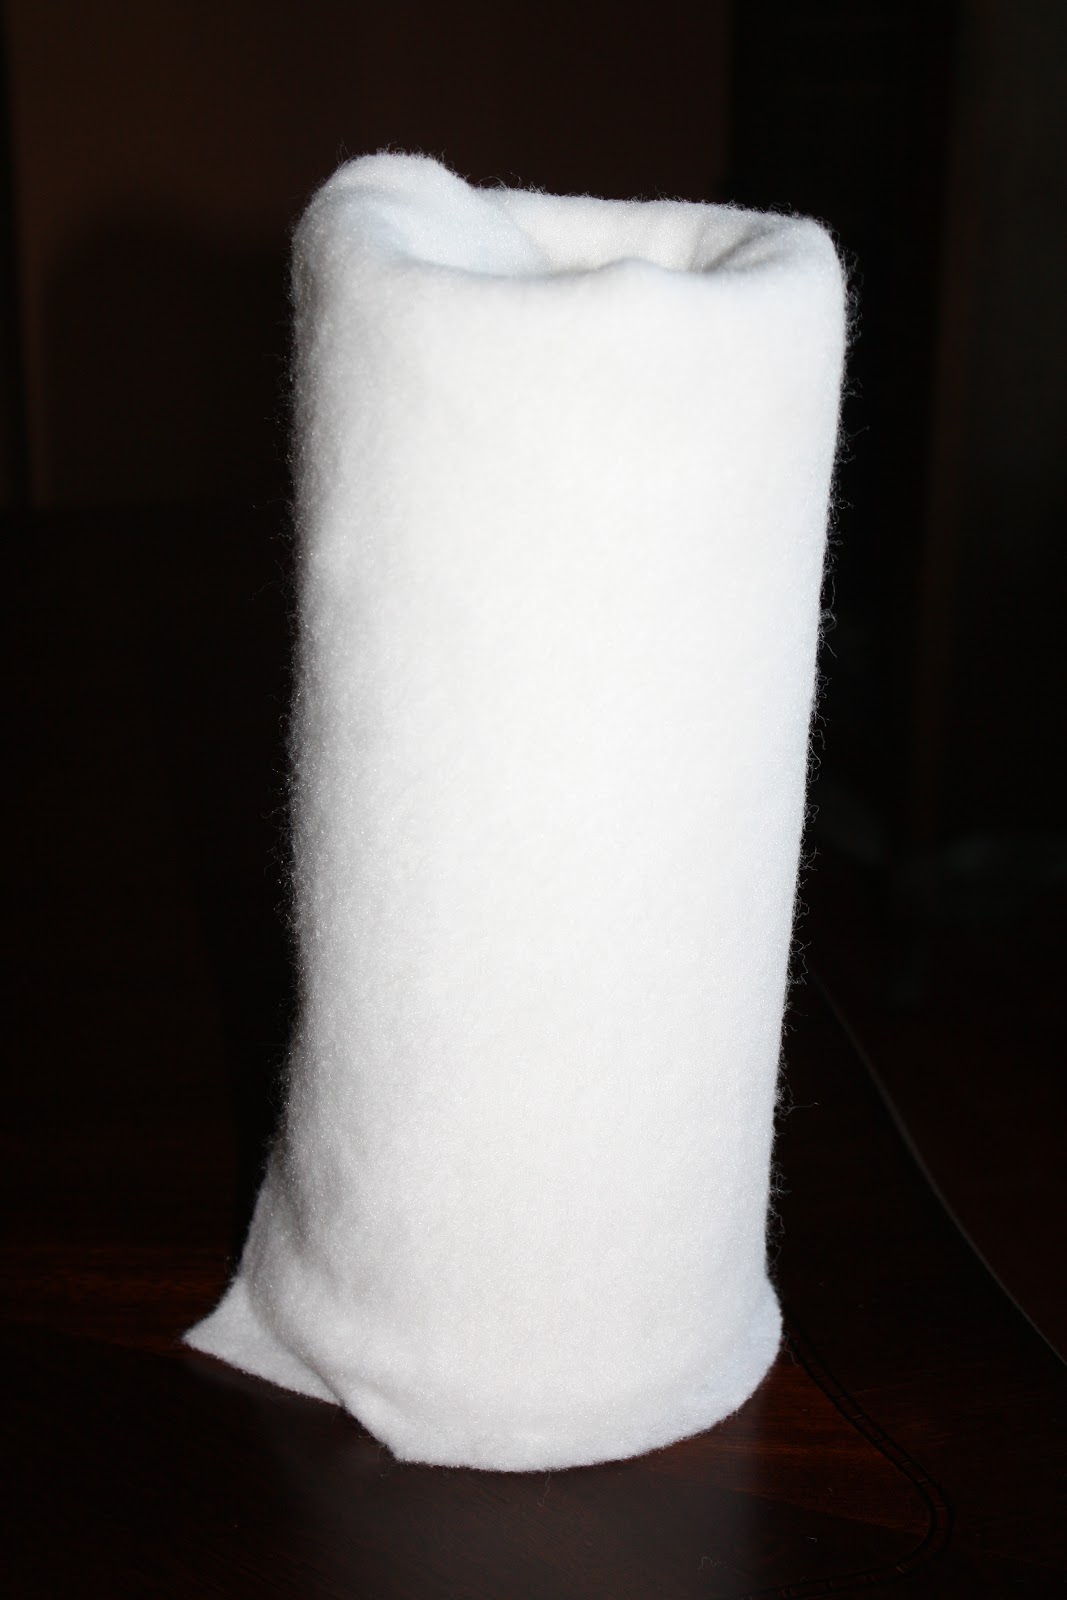
Glue the edges to the PVC pipe. Tuck the ends in and glue them to the side, like this:

Iron your fabric so it is crisp. Fold your fabric about a 1.5" on one side and iron a crease.
This is so you have a nice finished edge.
Lay your fabric down and glue the "frayed" edge or the non creased edge to the batting.
Roll the whole pipe over the fabric with the batting.
Glue the crease side to the fabric.

For the BOTTOM ONLY tuck the ends under and glue to the inside.

Tuck the TOP in, then reach in from the bottom and twist the extra fabric.
The tricky part of this is tying the twisted fabric with a rubber band.


You're almost finished!
To complete the headband holder, remove your flower from the stem.

Glue the flower to the top and your DONE!


What a beautiful way to keep organize.
ReplyDeleteMarlene
Info site for Skagway Tours